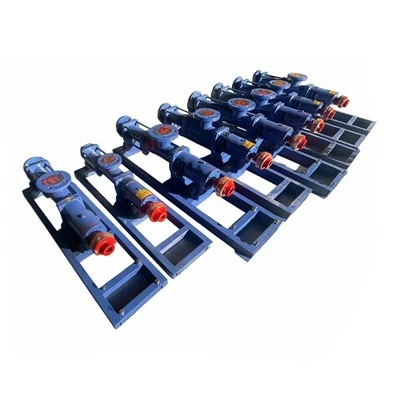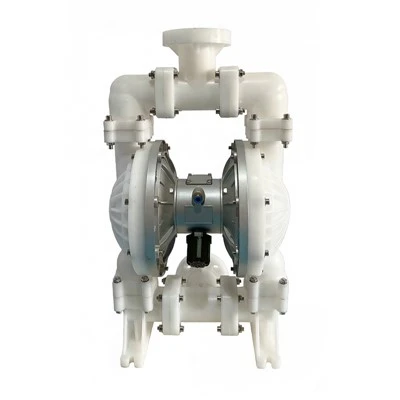
As a reliable supplier of KCB Gear Pumps, I understand the importance of maintaining and repairing these pumps to ensure their optimal performance and longevity. One common maintenance task that may be required is replacing the shaft of a KCB Gear Pump. In this blog post, I will guide you through the process of replacing the shaft, from identifying the need for replacement to completing the installation. This detailed guide aims to provide you with the knowledge and confidence to carry out this essential maintenance task effectively.
Identifying the Need for Shaft Replacement
The first step in replacing the shaft of a KCB Gear Pump is to determine whether a replacement is necessary. There are several signs that may indicate a problem with the shaft:
- Unusual noise or vibration: If the pump is making abnormal noises or vibrations, it could be a sign of a damaged or worn shaft. Excessive noise may be caused by misalignment, bearing wear, or a bent shaft, all of which can lead to reduced pump efficiency and potential damage to other components.
- Reduced performance: A decrease in the pump's flow rate or pressure can be a symptom of a shaft issue. A damaged shaft may not be able to transfer power effectively to the gears, resulting in a loss of performance. This can lead to decreased productivity and increased energy consumption.
- Visible damage: Physical damage to the shaft, such as cracks, bends, or excessive wear, is a clear indication that a replacement is needed. Inspect the shaft carefully for any signs of damage, including corrosion, pitting, or scoring.
Gathering the Necessary Tools and Parts
Before you begin the shaft replacement process, it is important to gather all the necessary tools and parts. Here is a list of items you will need:
- Replacement shaft: Ensure that you have the correct shaft for your specific KCB Gear Pump model. You can find the appropriate shaft by referring to the pump's manual or contacting the manufacturer.
- Wrenches and sockets: You will need a set of wrenches and sockets to remove and install the pump components. Make sure you have the correct sizes for the bolts and nuts on your pump.
- Screwdrivers: Depending on the pump design, you may need screwdrivers to remove covers, access panels, or other components.
- Pullers and presses: These tools are used to remove and install bearings, gears, and other components that are press-fitted onto the shaft. Make sure you have the correct type and size of puller or press for your specific pump.
- Lubricant: Use a high-quality lubricant to prevent damage to the shaft and other components during installation. Apply the lubricant to the shaft and bearing surfaces before assembly.
- Safety equipment: Wear appropriate safety equipment, such as gloves and safety glasses, to protect yourself from injury during the repair process.
Removing the Old Shaft
Once you have gathered all the necessary tools and parts, you can begin the process of removing the old shaft. Follow these steps:
- Prepare the work area: Ensure that the work area is clean, well-lit, and free of any obstacles. Place a clean cloth or tray under the pump to catch any oil or debris that may fall during the disassembly process.
- Disconnect the power supply: Before working on the pump, disconnect the power supply to prevent accidental startup. This will help ensure your safety and prevent damage to the pump.
- Drain the oil: If the pump is filled with oil, drain it into a suitable container. This will prevent oil from leaking onto the work area and make it easier to access the pump components.
- Remove the pump cover: Use a wrench or socket to remove the bolts that hold the pump cover in place. Carefully lift the cover off the pump and set it aside.
- Remove the gears: Depending on the pump design, you may need to remove the gears to access the shaft. Use a puller or press to remove the gears from the shaft. Be careful not to damage the gears or the shaft during this process.
- Remove the bearings: Use a puller or press to remove the bearings from the shaft. Make sure you support the shaft properly to prevent it from bending or breaking.
- Remove the old shaft: Once the gears and bearings are removed, you can remove the old shaft from the pump housing. Use a wrench or socket to remove any retaining nuts or bolts that hold the shaft in place. Carefully pull the shaft out of the housing.
Installing the New Shaft
After removing the old shaft, you can proceed with installing the new shaft. Follow these steps:
- Inspect the new shaft: Before installing the new shaft, carefully inspect it for any damage or defects. Make sure the shaft is the correct size and specification for your pump.
- Apply lubricant: Apply a thin layer of lubricant to the shaft and bearing surfaces. This will help prevent damage to the shaft and other components during installation.
- Install the bearings: Use a press to install the bearings onto the new shaft. Make sure the bearings are installed correctly and securely.
- Install the gears: If you removed the gears during the disassembly process, use a press to install them onto the new shaft. Make sure the gears are installed correctly and aligned properly.
- Insert the new shaft into the housing: Carefully insert the new shaft into the pump housing. Make sure the shaft is aligned correctly and that the bearings and gears are seated properly.
- Install the retaining nuts or bolts: Use a wrench or socket to install the retaining nuts or bolts that hold the shaft in place. Make sure the nuts or bolts are tightened to the correct torque specification.
- Install the pump cover: Place the pump cover back onto the pump housing and align it with the bolt holes. Use a wrench or socket to tighten the bolts that hold the cover in place.
- Refill the oil: Once the pump is reassembled, refill it with the appropriate type and amount of oil. Check the oil level and ensure that it is within the recommended range.
Testing the Pump
After installing the new shaft, it is important to test the pump to ensure that it is operating properly. Follow these steps to test the pump:

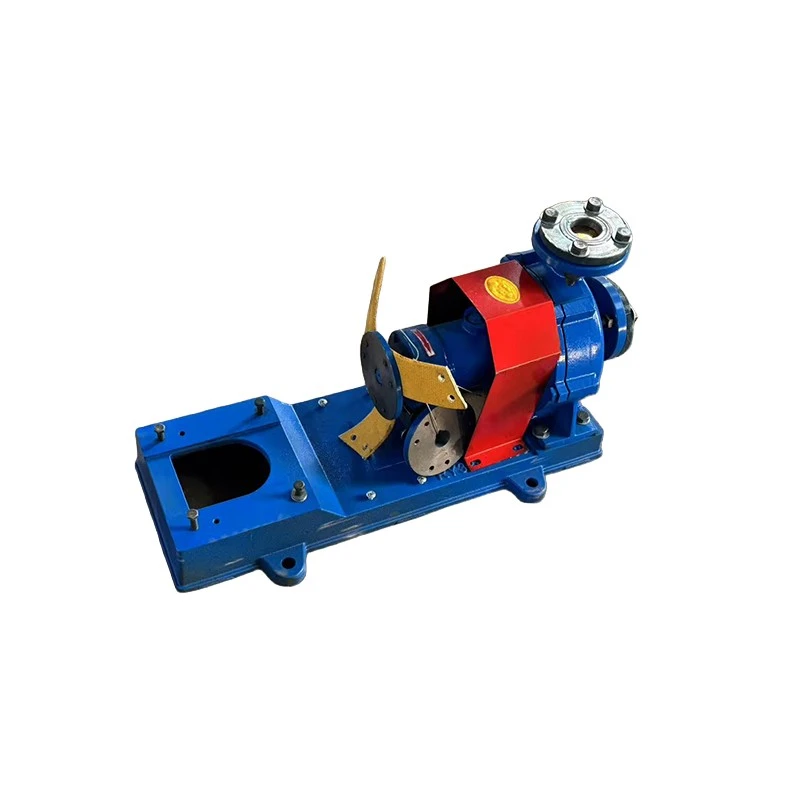
- Reconnect the power supply: Once the pump is filled with oil, reconnect the power supply.
- Start the pump: Turn on the pump and let it run for a few minutes. Listen for any unusual noises or vibrations. Check the pump's performance, including flow rate and pressure.
- Check for leaks: Inspect the pump for any signs of leaks. Look for oil or fluid leaking from the pump housing, seals, or connections.
- Monitor the pump: Continuously monitor the pump's performance for a period of time to ensure that it is operating smoothly and efficiently. If you notice any issues, such as a decrease in performance or unusual noise, stop the pump immediately and investigate the problem.
Conclusion
Replacing the shaft of a KCB Gear Pump is a complex but essential maintenance task that can help ensure the pump's optimal performance and longevity. By following the steps outlined in this blog post, you can safely and effectively replace the shaft of your KCB Gear Pump. Remember to always use the correct tools and parts, follow the manufacturer's instructions, and take appropriate safety precautions. If you have any questions or need further assistance, please do not hesitate to contact us.
As a leading supplier of KCB Gear Pumps, we offer a wide range of high-quality pumps, including Sanitary Gear Pump, Lubricating Oil Gear Pump, High Temperature Gear Pump, Stainless Steel Gear Pump, and High Flow Gear Pump. Our pumps are designed to meet the highest standards of quality and performance, and we are committed to providing our customers with the best possible service and support. If you are in need of a KCB Gear Pump or any other type of pump, please contact us to discuss your requirements. We look forward to working with you.
References
- Manufacturer's manual for KCB Gear Pump
- Industry standards and best practices for pump maintenance and repair